The linked double crochet is a crochet stitch that isn’t brought up too often. The most common time to see this particular stitch brought up in conversation is when someone asks for a stitch that will work up quickly but won’t have “holes” in the finished project. In this stitch tutorial, we are going to go over how to do a linked double crochet and what the difference is between this particular stitch and the regular double crochet.
Stitch Details
| Abbreviation | ldc |
| Difficulty Level | Easy |
Linked Double Crochet Abbreviation
The most common abbreviation for the linked double crochet stitch in crochet patterns is ‘ldc‘.
Linked Double Crochet vs Double Crochet
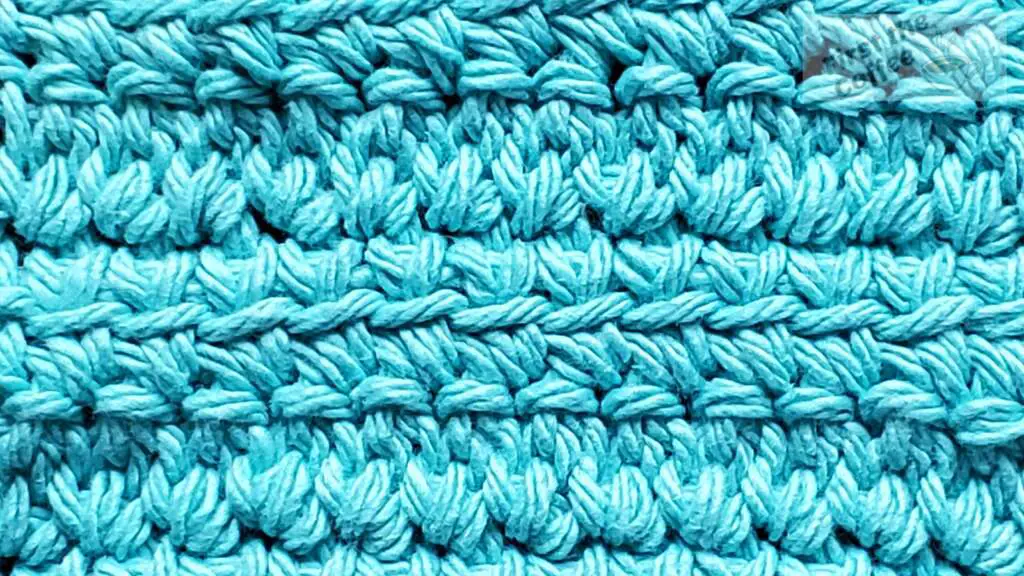
Many often wonder what does a linked double crochet stitch look like, especially when compared to a double crochet stitch. The linked double crochet has a connection to the previous stitch through the middle horizontal bar. This creates a stitch pattern that makes the stitches tightly connected, and not having as many gaps as regular double crochet stitches would have.
Below we have a swatch with regular double crochet stitches on the left and linked double crochet stitches on the right side:
Video Tutorial
How to do the Linked Double Crochet

Materials
- Yarn
- Crochet Hook
Instructions
- Create a foundation chain of any number and add 3 chains to that.
- Insert your hook into the 2nd chain from your hook.

- Yarn over and pull up a loop ( 2 loops will be on your crochet hook)
- Insert your hook into the 4th chain from your hook.
- Yarn over and pull up a loop ( 3 loops on the hook)
- Yarn over and pull through two of the loops on your crochet hook. ( 2 loops on the hook)
- Yarn over and pull through the remaining 2 loops on your hook. ( 1 loop left on the hook)
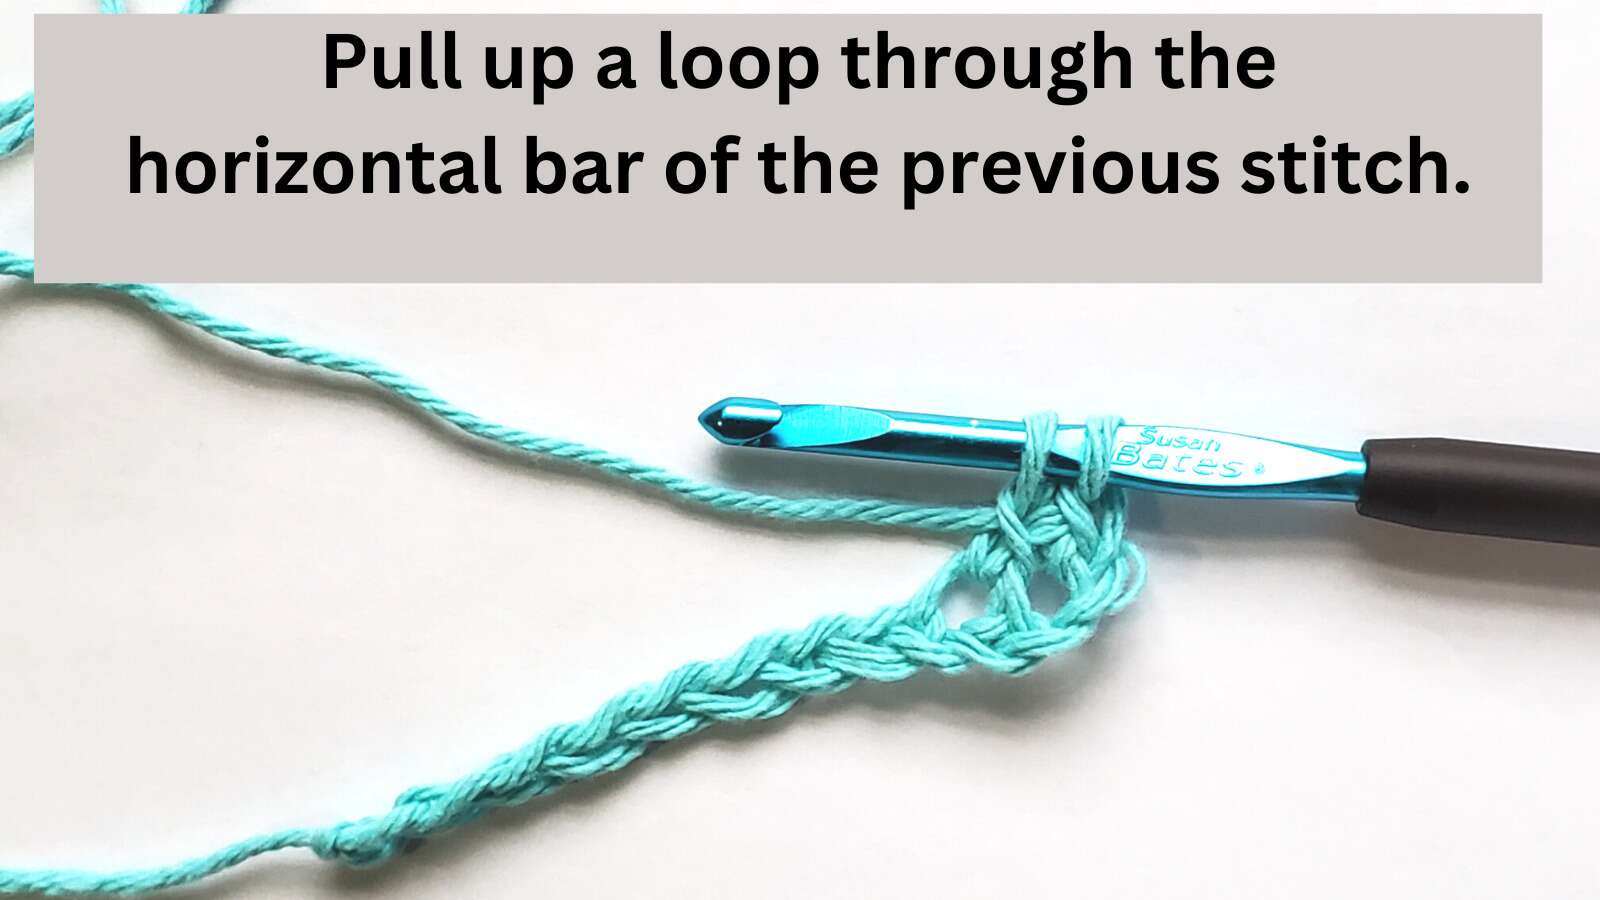
- To do the next stitch, find the horizontal bar of the previous stitch (marked with a red line in the image below) and insert your hook under that stitch.
- Yarn over and pull up a loop. (2 loops on your hook)
- Insert your hook into the next chain/stitch. ( 3 loops on the hook)
- Yarn over and pull through 2 of the loops on your hook. (2 loops on your hook)
- Yarn over and pull through the remaining 2 loops on your hook.
- Repeat steps 8 through 12 for each remaining stitch.
- To start a new row, chain 3 and turn, insert your hook into the 2nd chain from the hook, yarn over pull up a loop, insert hook into the 1st stitch, yarn over and pull up a loop, yarn over and pull through 2 loops, yarn over and pull through remaining two loops.
- Continue across row using steps 8 through 12.