
You might have been scrolling through your social media and came across this beautiful puffy textured stitch in your feed that caught your eye and made you stop scrolling right away. And searching the internet you may be wondering just how to do the crochet bean stitch. This is a surprisingly easy stitch to do and this step-by-step tutorial will show you how to start making crocheted masterpieces with this beautiful stitch.
About the Bean Stitch
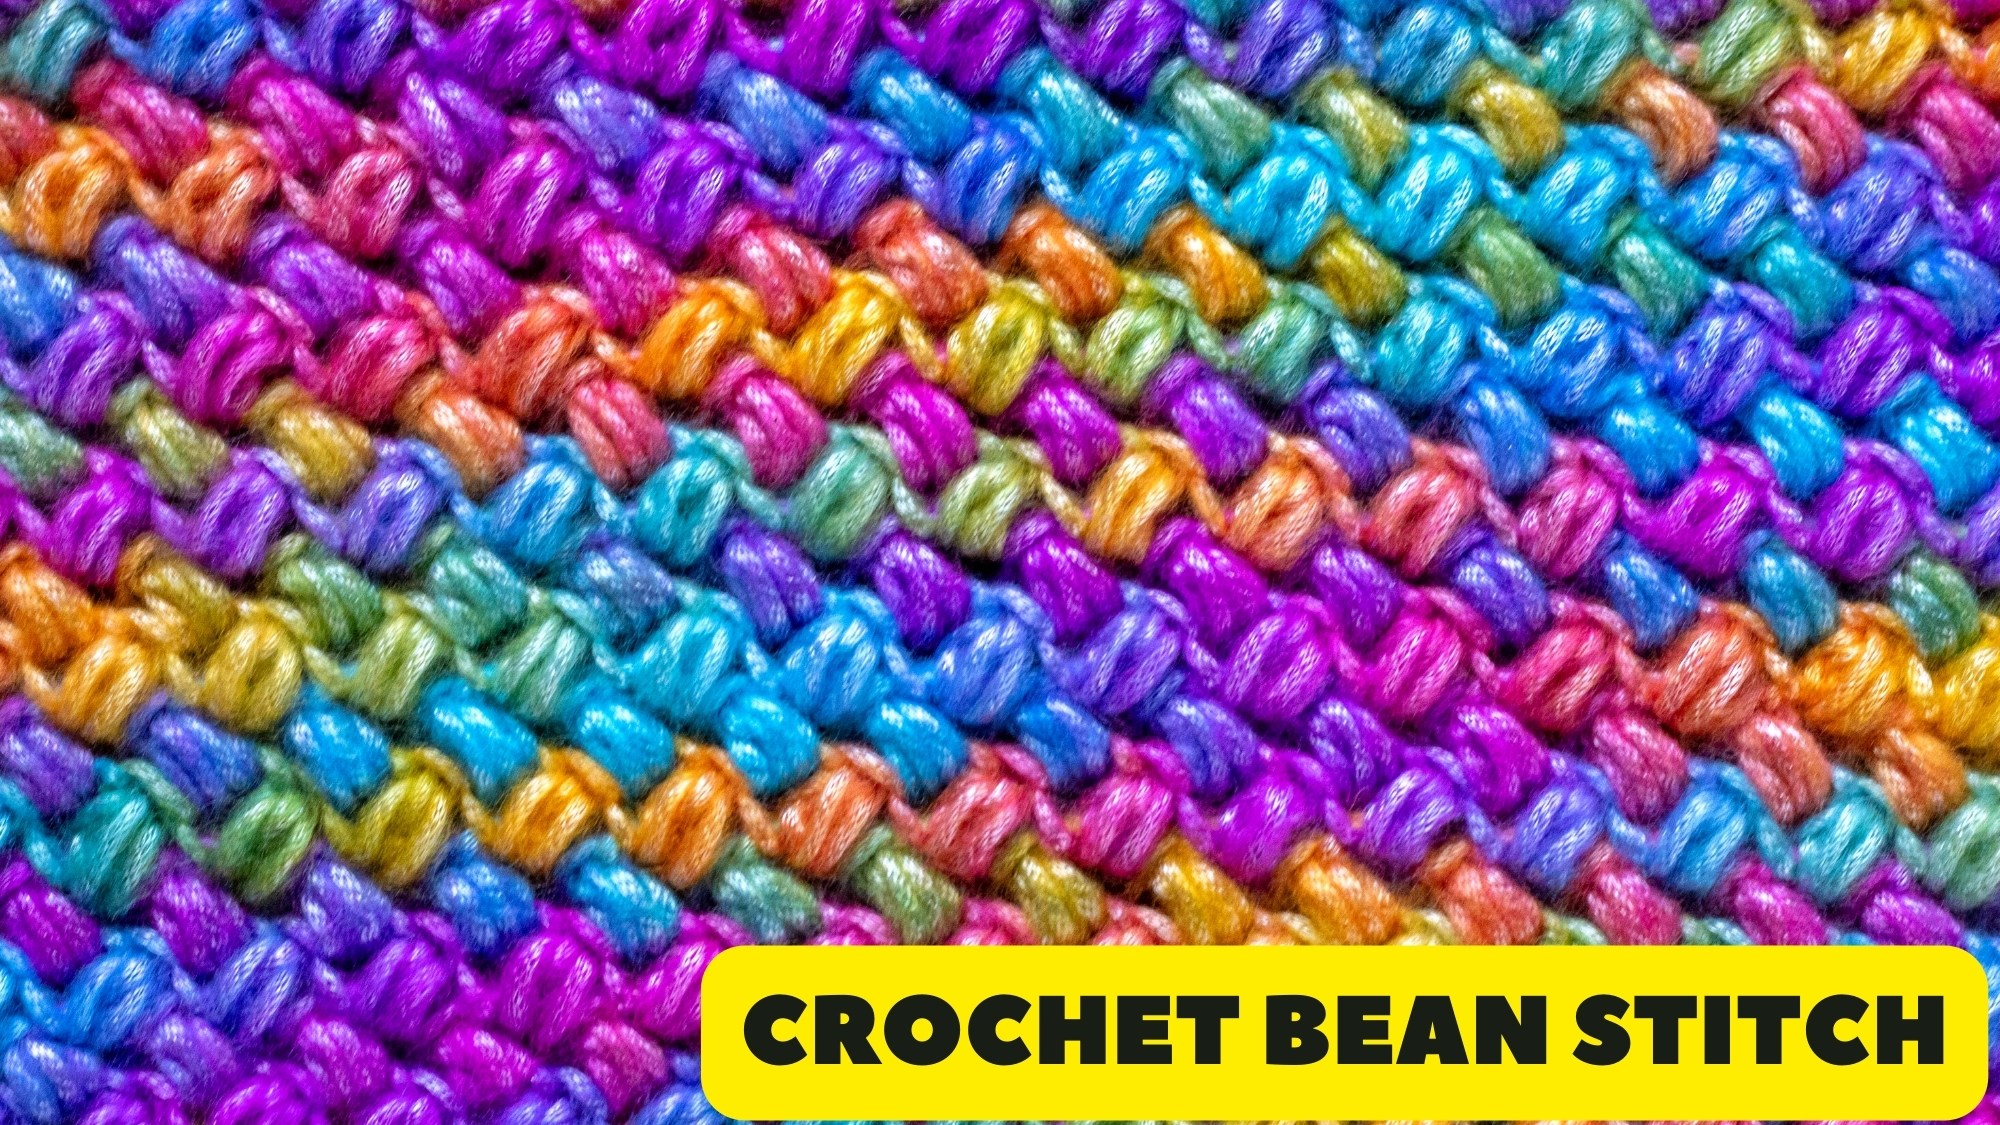
The crochet bean stitch is a puffy stitch that involves yarning over and pulling up loops multiple times in the same stitch.
When crocheting from a pattern, the abbreviation for the bean stitch is usually bean st.
There is another closely related stitch that has one less yarn over and one less loop pull up and it is called the Mini Bean Stitch.
Written Instructions For The Crochet Bean Stitch
Insert the crochet hook into the next stitch and pull up a loop (2 loops on your hook), yarn over, insert your hook back into the same stitch and pull up a loop (4 loops on your hook), yarn over, insert your hook back into the same stitch and pull up a loop (6 loops on your hook), yarn over and pull through all 6 loops on your hook, chain 1 to close the stitch
Step By Step Video Tutorial
How to do the Crochet Bean Stitch

Instructions
- Make a Foundation Chain that is an Odd Number
- Insert hook into the 3rd chain from the hook and pull up a loop (2 loops on hook)

- Yarn over, insert hook back into the same stitch and pull up a loop (4 loops on hook)
- Yarn over, insert hook back into the same stitch and pull up a loop (6 loops on hook)
- Yarn over and pull through all 6 loops on hook
- Chain one to close the stitch
- Skip the next chain
- Insert hook into the following chain and pull up a loop (2 loops on hook)
- Yarn over, insert hook back into the same stitch and pull up a loop (4 loops on hook)
- Yarn over, insert hook back into the same stitch and pull up a loop (6 loops on hook)
- Yarn over and pull through all 6 loops on hook
- Chain one to close the stitch
- Repeat steps 7 through 12 all across the foundation chain (you will still chain 1 at the last bean stitch of the row to close the stitch)
- To do another row of bean stitches you will ch 1 again, giving you 2 chains when you count the one from the closing of the last bean stitch in the previous row, and then turn your work.
- Starting in the side of the first bean stitch you will repeat steps 8 through 12.
- You will then skip one stitch, which is the chain 1 you did to close the stitches of the previous row, these are called the top of the bean stitch
- Repeat steps 15 and 16 as needed across the row.


