Learn how to make the mini bean crochet stitch with this step by step tutorial. Also called the Elizabeth Stitch, many crochet patterns will abbreviate this stitch as ‘mb st’ or ‘mb’.
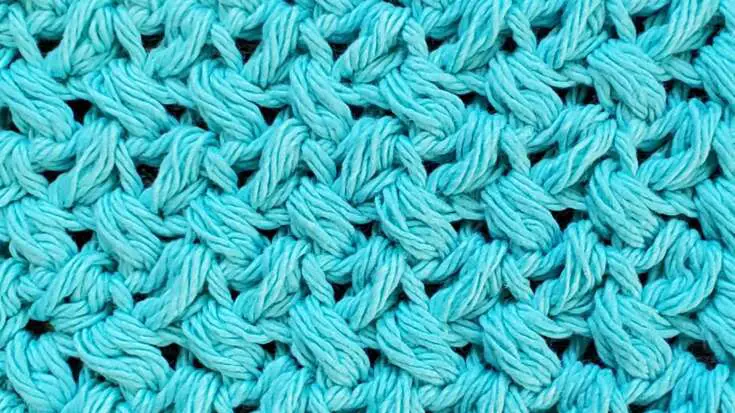
If you haven’t tried the mini bean stitch yet, you will love it once you learn this textured crochet stitch. It looks like a small version of the puff stitch, and it has the same look on both sides. The best part of the mini bean stitch is that it works up very fast.
Stitch Details
| Abbreviation | ‘mb st’ or ‘mb’ |
| Other Names | Elizabeth Stitch |
There is a regular bean stitch that has an extra step beyond what the mini bean stitch has. You can find a stitch tutorial here: The Crochet Bean Stitch
How Do You Crochet A Mini Bean Stitch?
The mini bean stitch is a 1-row repeat stitch that covers 2 stitches in patterns.
To do a mini bean stitch all you need to do for the stitch itself are the following steps:
Insert hook into stitch, yarn over, pull up a loop (2 loops on hook), yarn over, insert hook into the same stitch, yarn over, pull up a loop (4 loops on hook), yarn over and pull through all 4 loops on your hook, chain 1 to finish and close the stitch.
Sometimes on some patterns, they will count the chain 1 that is used to close the stitch as a separate stitch. But the majority of patterns will include the chain 1 in the mini bean stitch. It will usually be noted in the pattern if it is included in the stitch or if it is not included and is considered a separate stitch. In my crochet patterns, I include the chain as part of the stitch, and I do the same for this stitch guide.
Step by step instructions with pictures along with a video on how to do the mini bean stitch are also available below.
What Crochet Projects Can You Use The Mini Bean Stitch In?
The mini bean stitch can be used in many different types of crochet projects. It is great in crochet scarves and cowls, also in dishcloths, dishtowels, and other household crochet items.
Crochet Patterns Using The Mini Bean Stitch
Video Tutorial On How to Crochet The Mini Bean Stitch
How to Make a Mini Bean Crochet Stitch
Materials
- Yarn
- Crochet Hook
Instructions
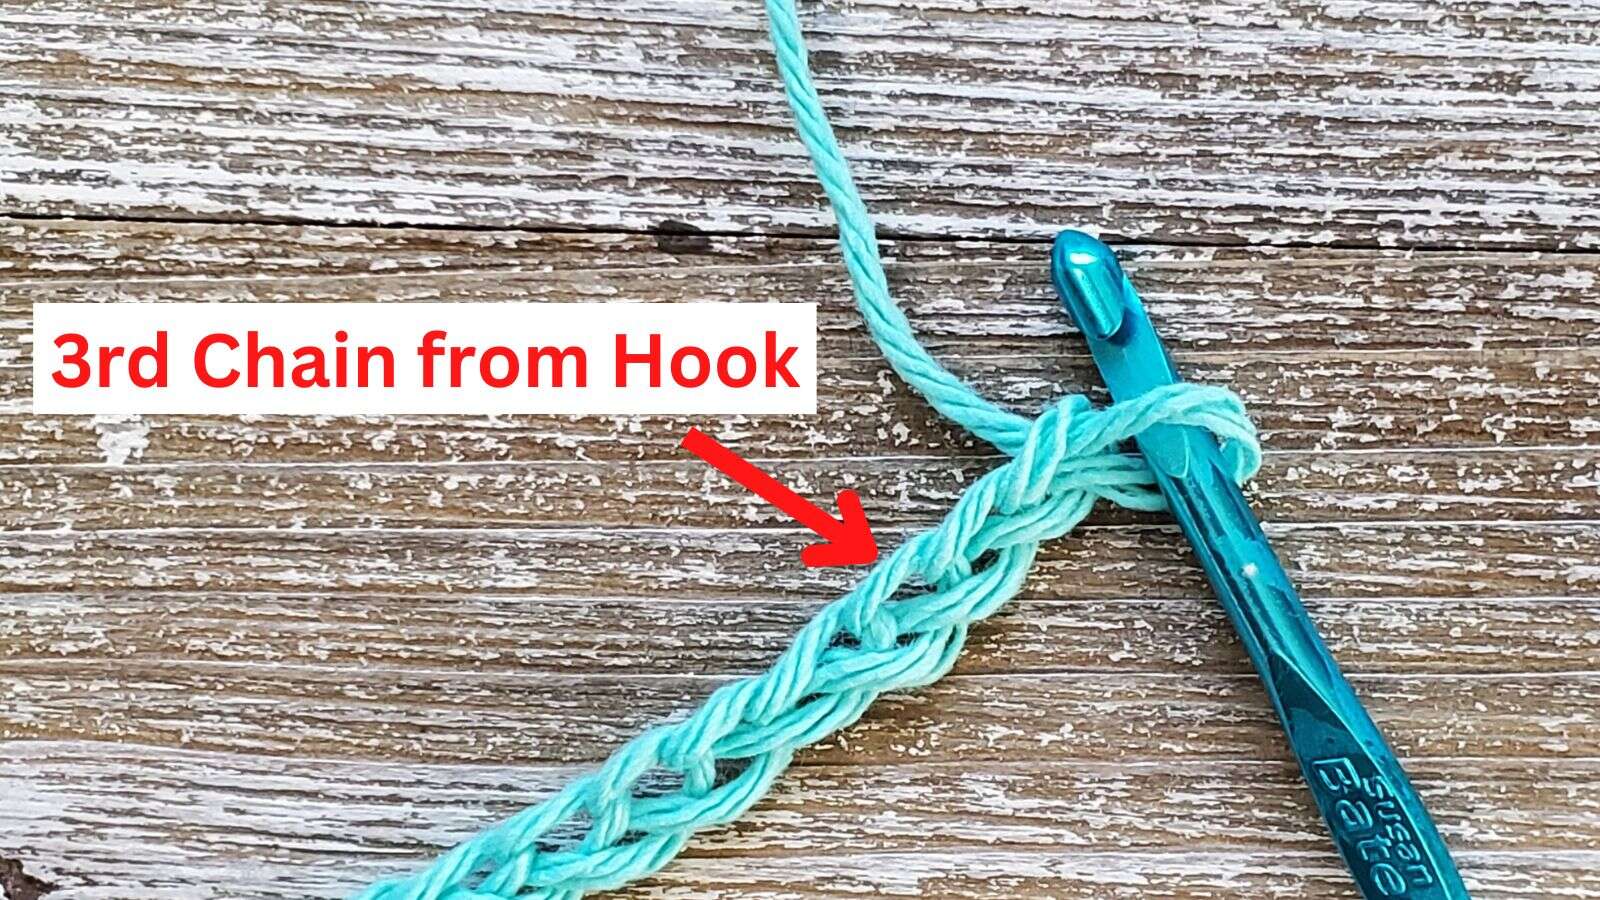
- Starting from a foundation chain have an odd number of stitches (multiples of 2 + 1)
- Starting in the 3rd chain from your hook.

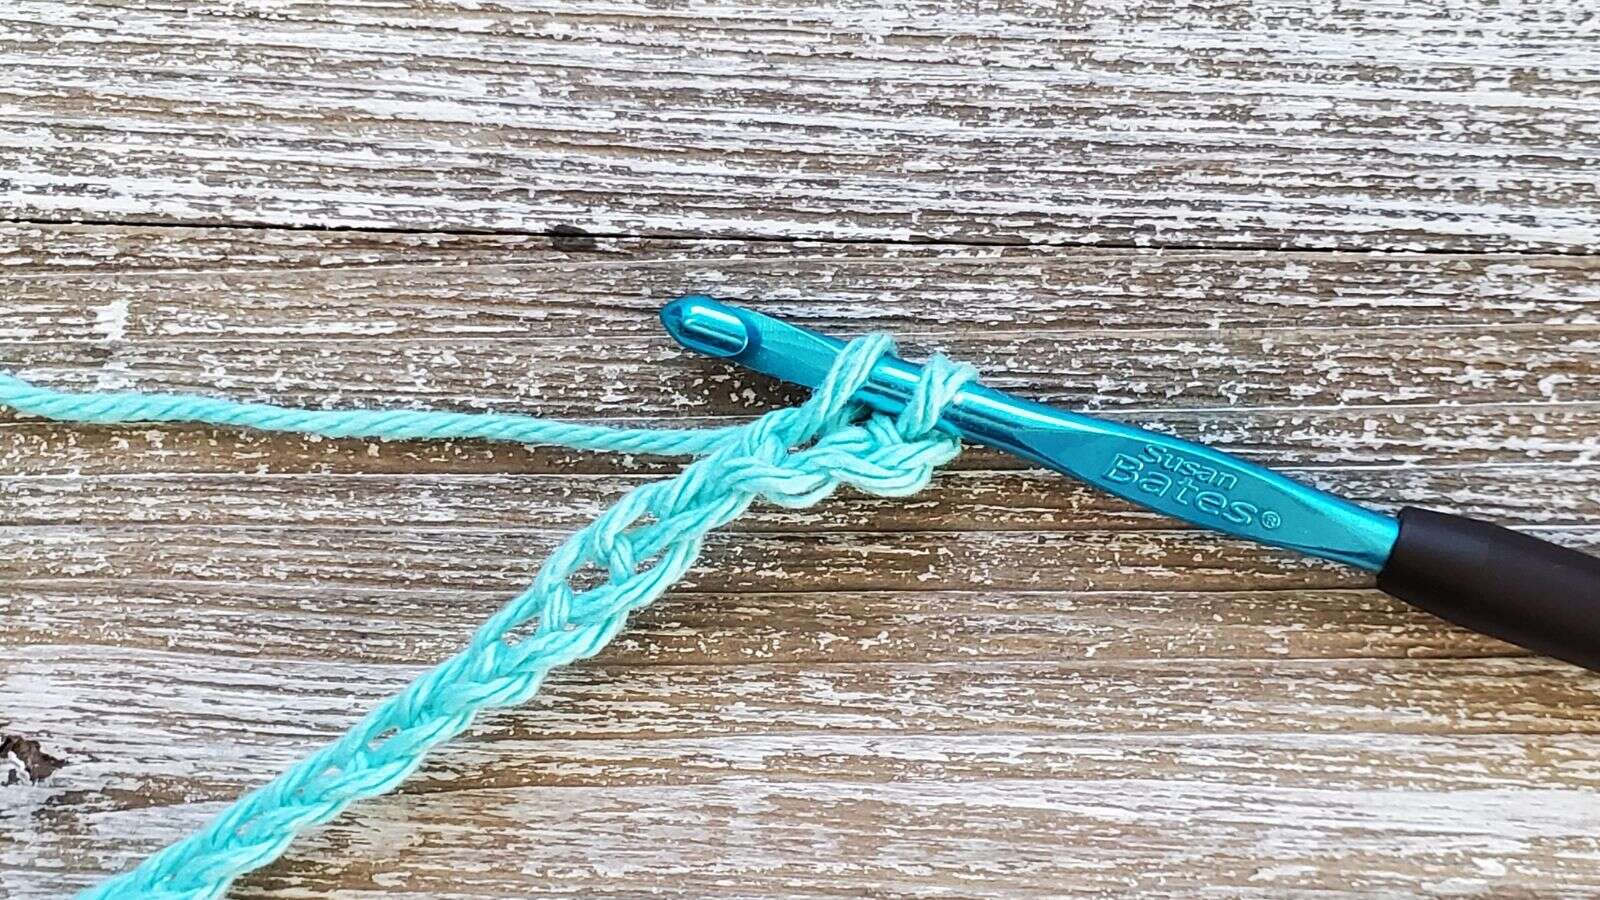
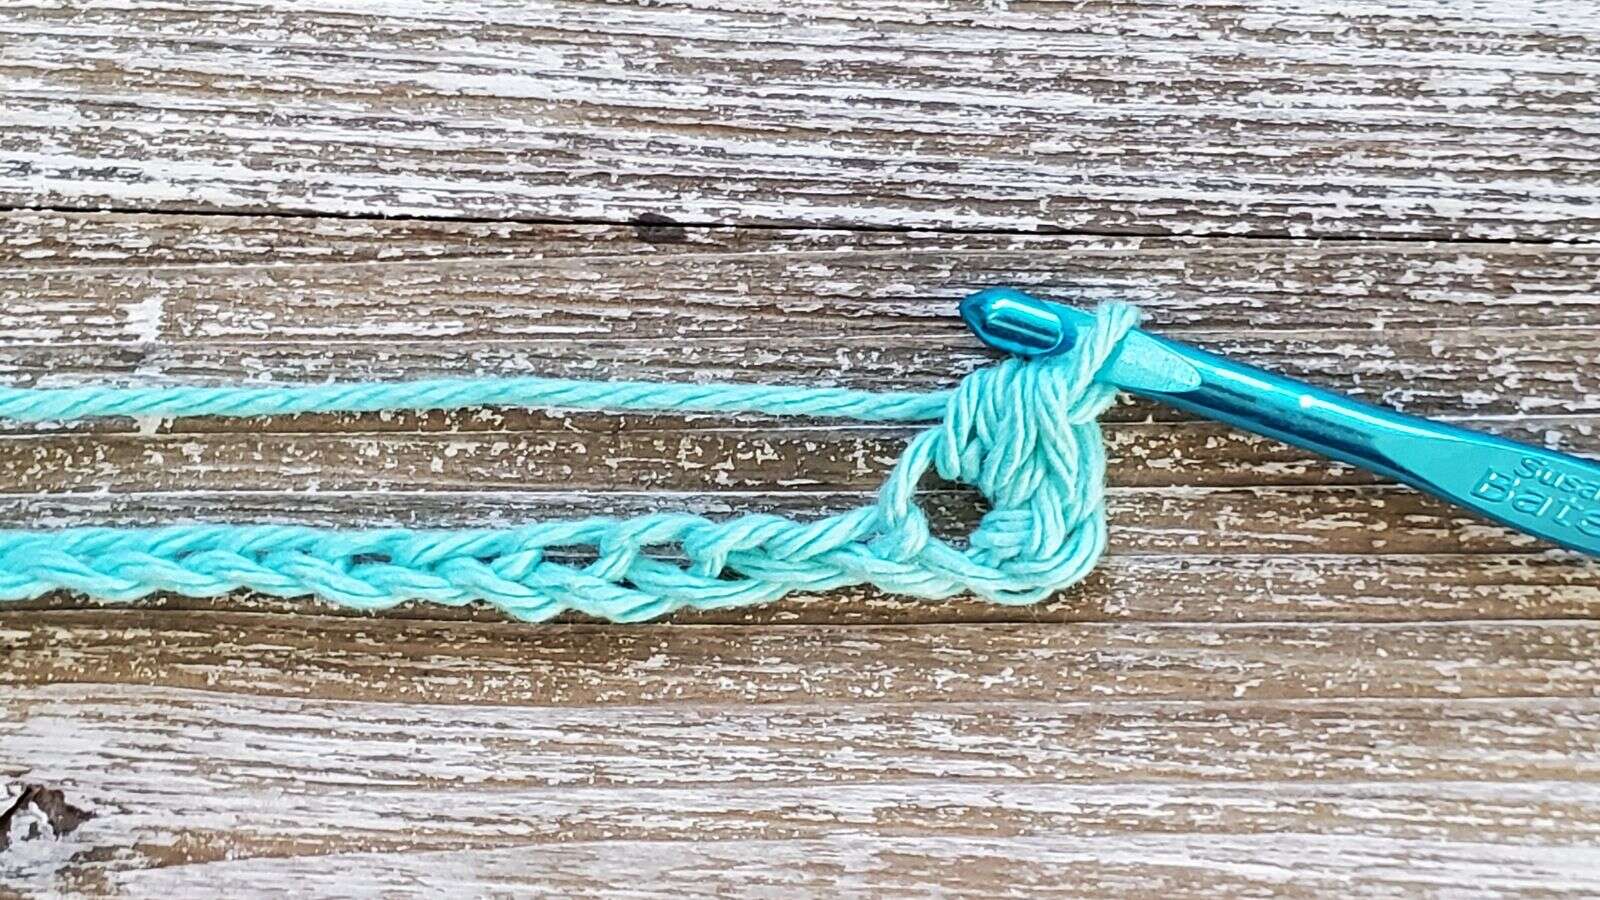
- Insert your crochet hook into the stitch/chain.
- Pull up a loop ( 2 loops on your hook).
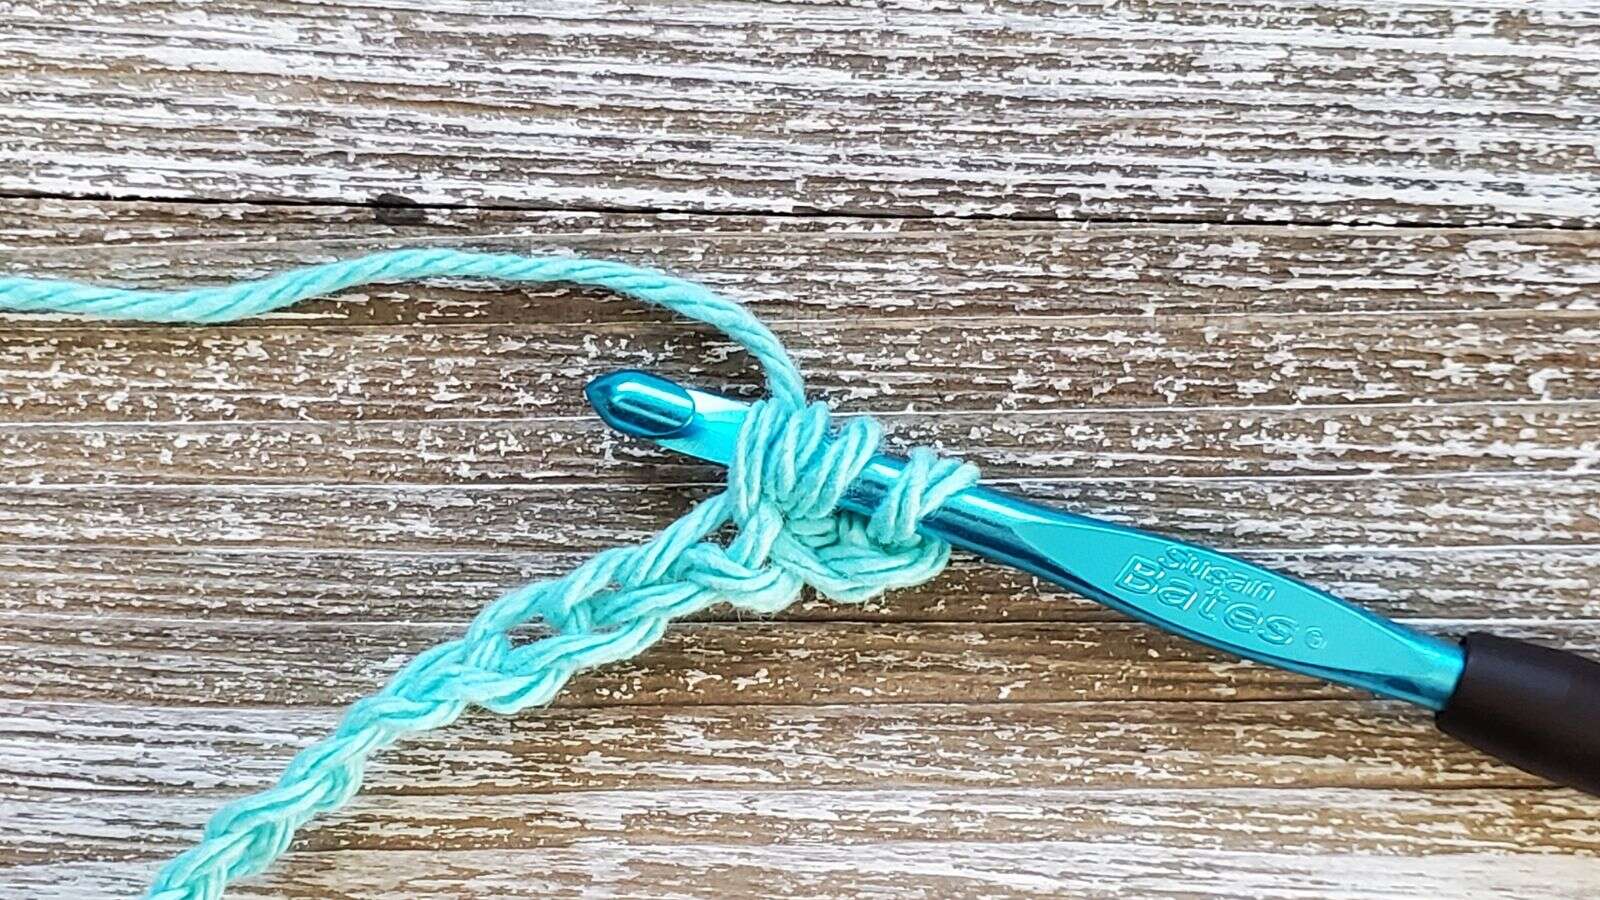
- Yarn over and insert your crochet hook back into the same stitch/chain.
- Yarn over and pull up a loop ( 4 loops on your hook).
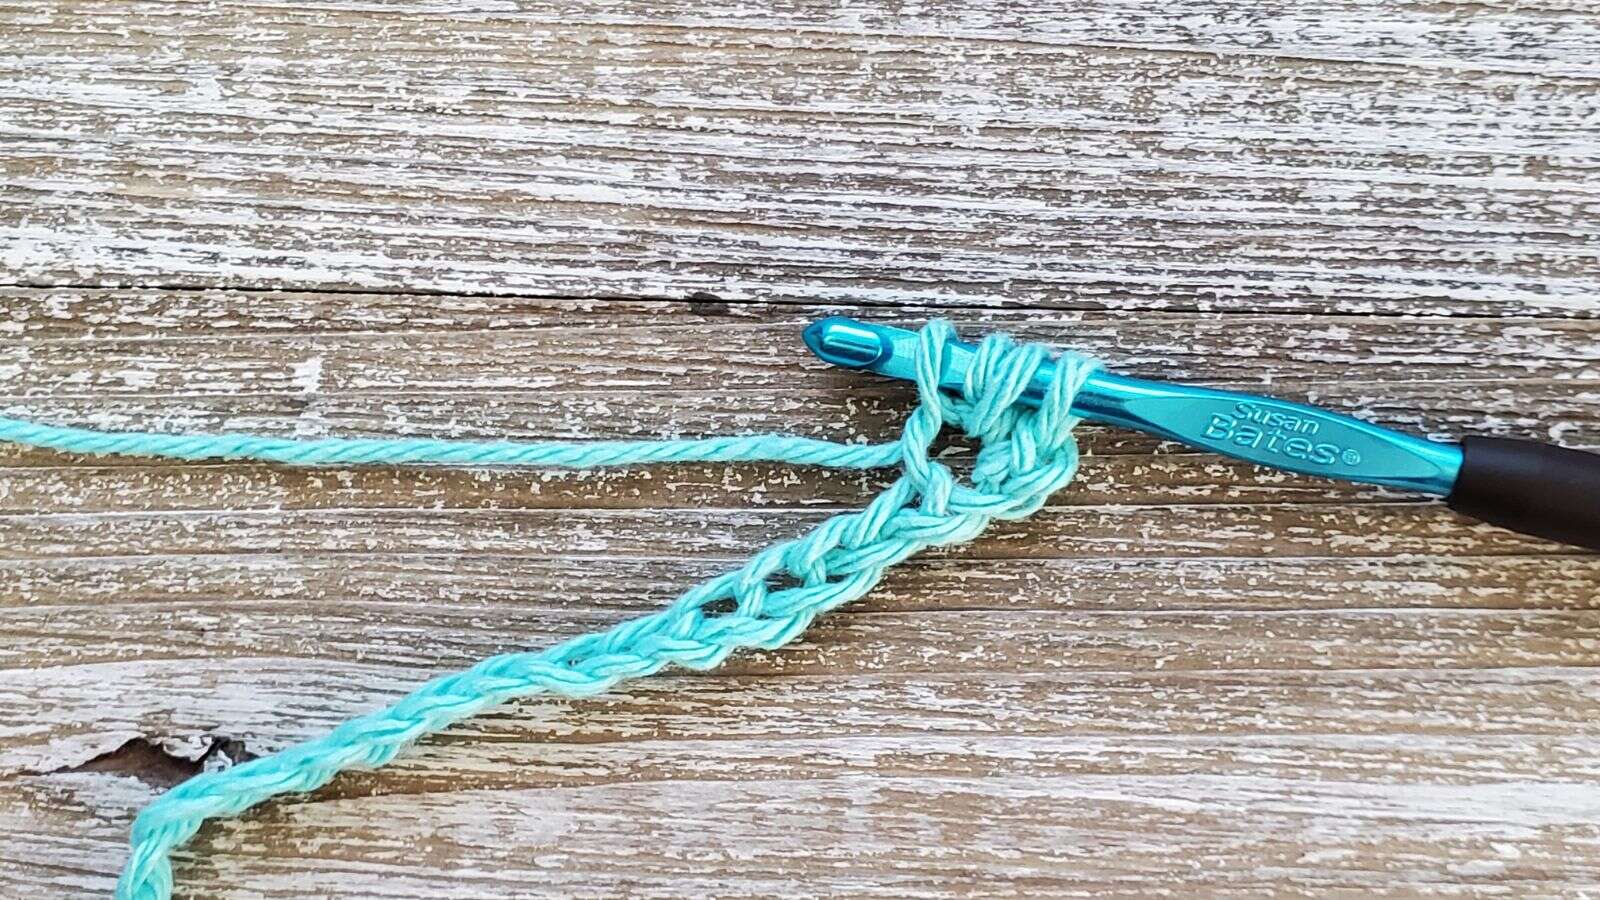
- Yarn over and pull through all 4 loops on your hook. (This will create the side of the mini bean stitch)
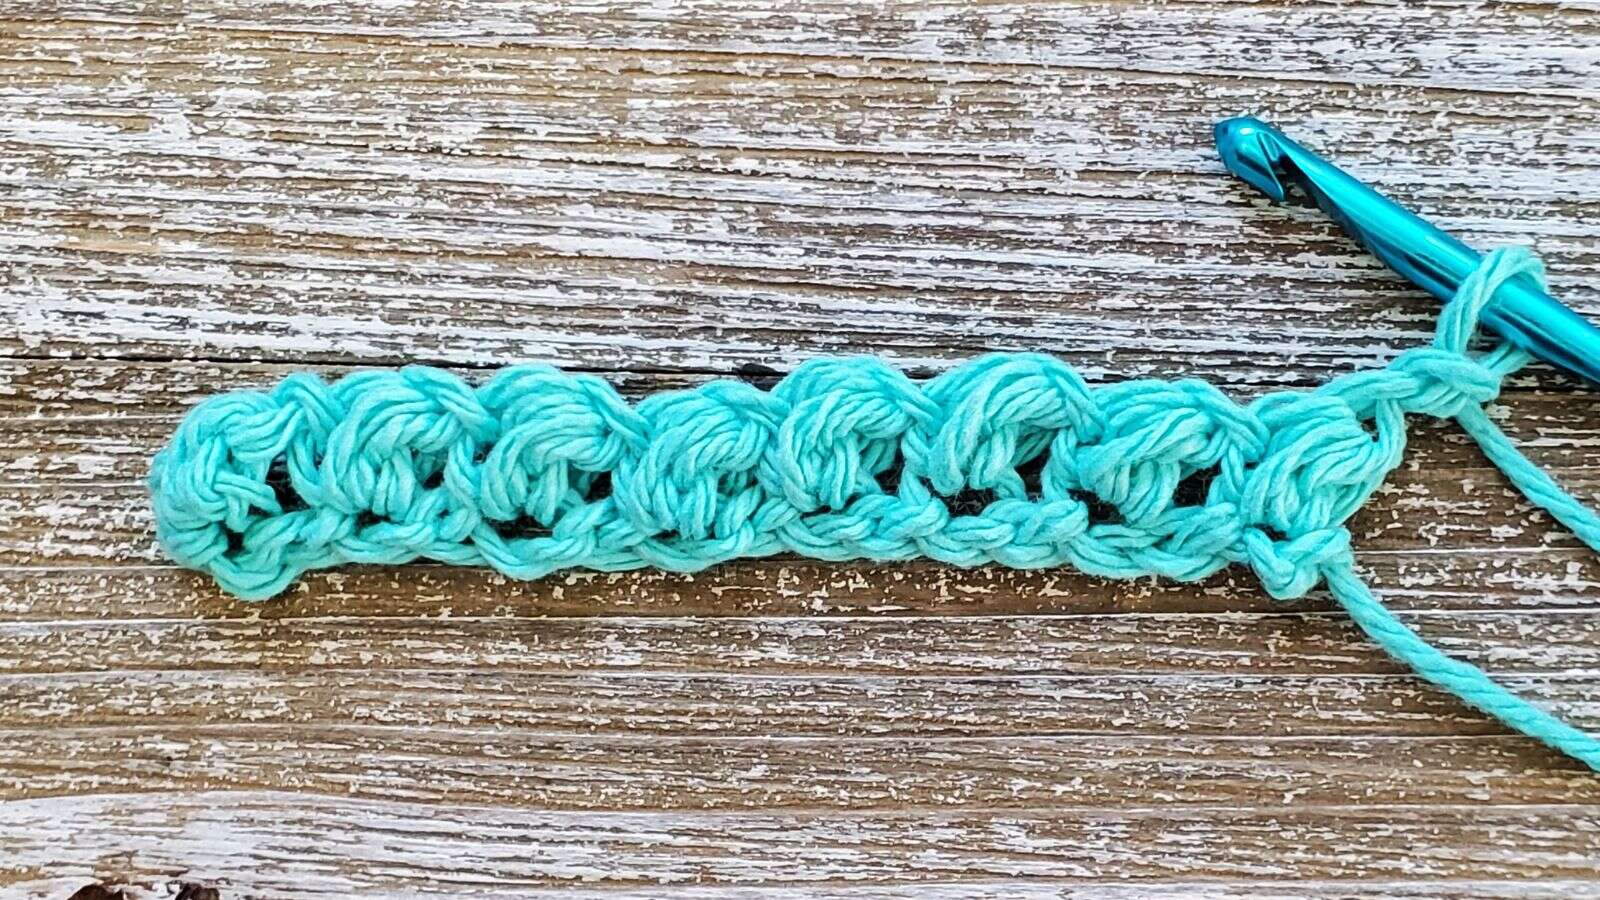
- Chain one to close the mini bean stitch (This will create the top of the mini bean stitch)
- Skip 1 chain.
- Starting in the next chain repeat steps 3 - 9 throughout the row.
- To start a 2nd row after step 8 on the last stitch of the row, chain 1 (in addition to the chain one to close the stitch) and turn your work
- Starting in the side of the 1st mini bean stitch of the previous row repeat steps 2 - 10 for the new row.