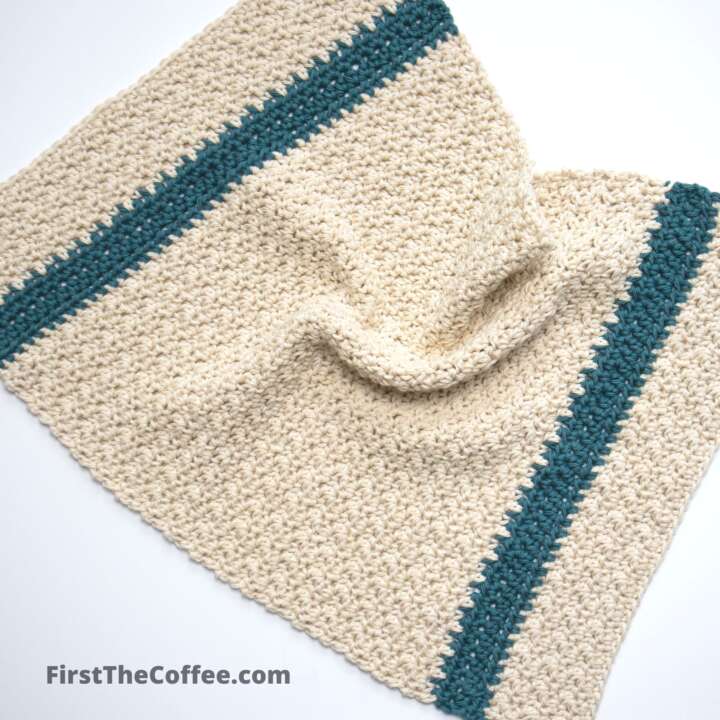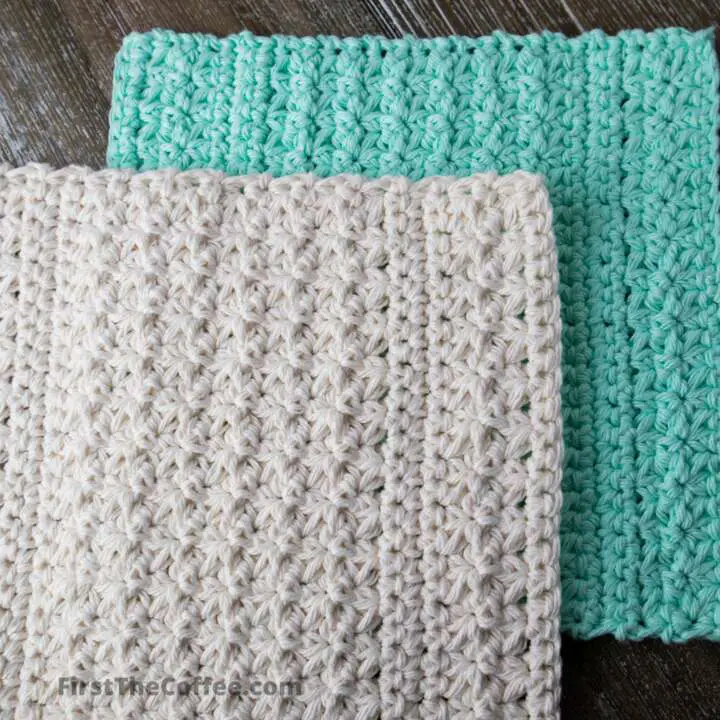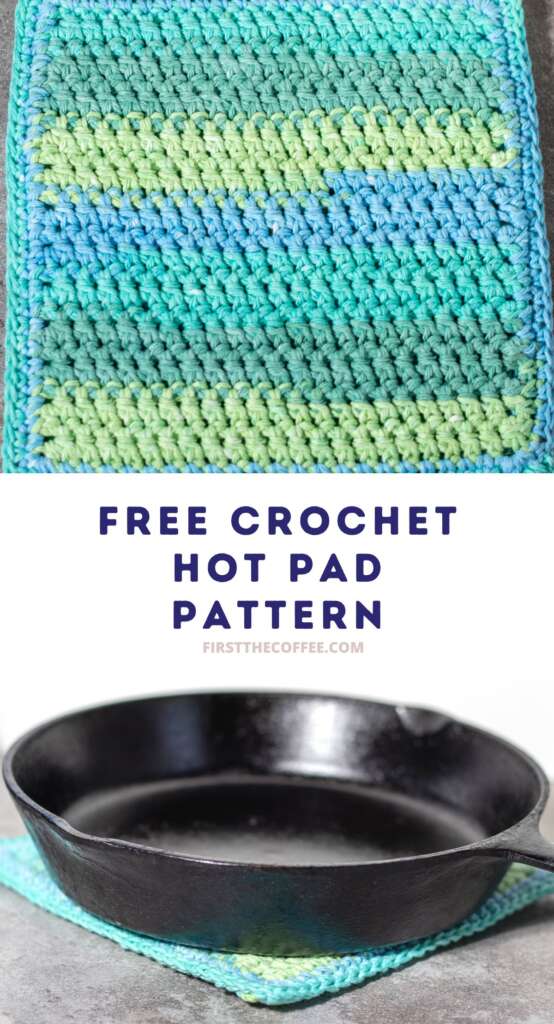
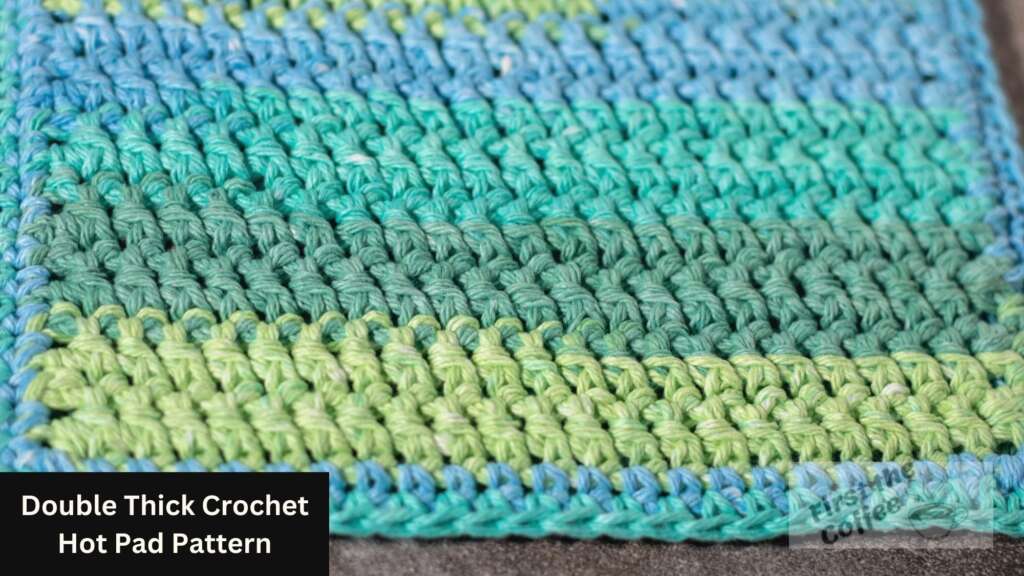
Hot pads and pot holders are a great way to practice new stitches while making something useful you can use around the house. That’s just what inspired this pattern, a Double Thick Crochet Hot Pad that uses the paired extended single crochet stitch.
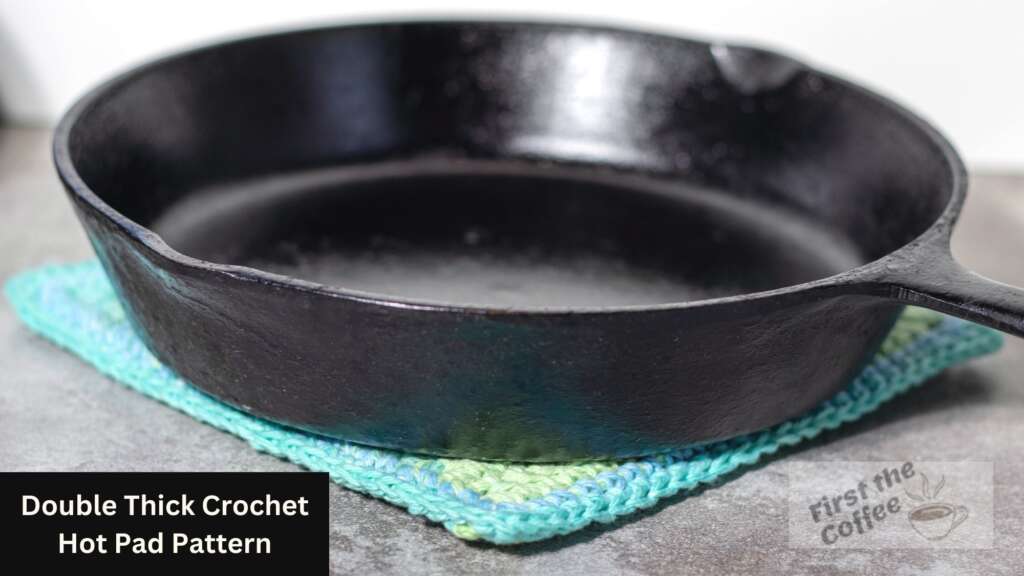
This hot pad has been field tested and even cast iron pan approved. I tested it out on my trusty cast iron the night I made it and was able to hold the handle all the way through cooking some sausage. It also worked great for sitting the pan down after all the cooking was done.
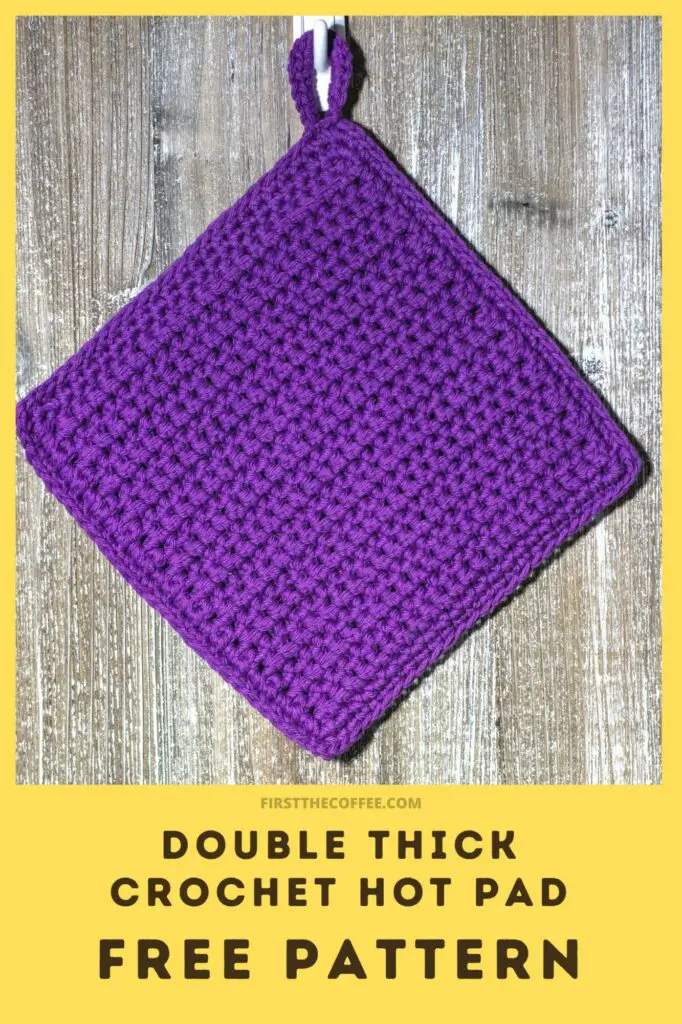
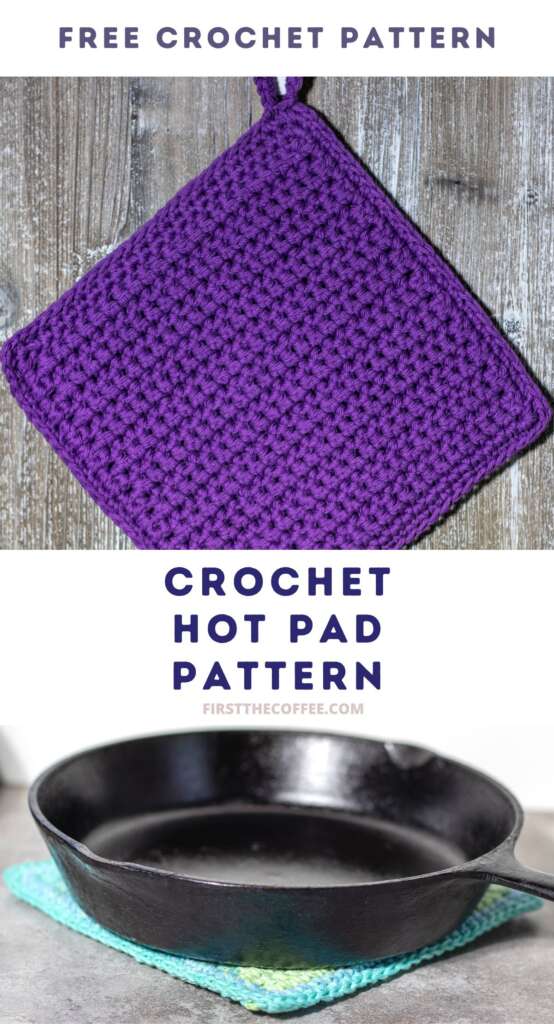
The Double Thick Crochet Hot Pad is made by stitching up 2 squares and giving both of those a border. Then they are joined together using another single crochet border to create a double thick layer of protection to help handle those hot kitchen pans.


Ad-Free PDF Patterns Are Available:
The full written pattern and video are available below with display ads. But if you would like a written ad-free PDF to add to your pattern collection you can do so by purchasing one from my Ravelry shop or Etsy shop.
All PDF Patterns are 20% off when you buy 3 patterns on Ravelry or Etsy.
Double Thick Crochet Hot Pad Pattern PDF
Notes:
- This crochet pattern is written in US terms.
- Finished Size is 8 inches wide by 8 inches tall
- To change the width of the hot pad your initial foundation chains can be any number, just add 1 chain for a turning chain.
- Initial chains in a row do not count as a stitch.
- Use 100% cotton or wool yarn to make these since they are intended for being in contact with very hot surfaces.
Materials:
- A total of 140 yards of a 100% cotton #4 medium-weight yarn
- Yarn used: Lilys Sugar and Cream Cotton
- 4.5 mm (7) crochet hook and a 5.0mm (H) crochet hook
- Stitch markers (optional)
- Yarn needle to weave in ends.
- Scissors
Can You Use Acrylic Yarn For Hot Pads?
Crochet Abbreviations Used (US Terms):
- ch – chain
- sc – single crochet
- pesc – paired extended single crochet
- hdc – half double crochet
Special Stitch Instructions
Paired Extended Single Crochet (pesc): Insert hook into the previous stitch just worked, yarn over and pull up a loop, insert hook into the next stitch, yarn over and pull up a loop and continue to pull through the 1st loop on your hook, yarn over and pull through the remaining two loops on your hook.
Video Tutorial:
Pattern:
Hot Pad Square (Make 2 of these):
(using 5mm hook) Foundation: ch 24
Switch to 4.5 mm hook
Row 1:(working in the back bump) hdc in 2nd ch from hook, * pesc in the next ch, repeat from * all across (23 stitches)
Rows 2 – 24: ch 1, turn, pesc in the 1st st, * pesc in the next st, repeat from * all across (23 stitches)
Single Square Border:
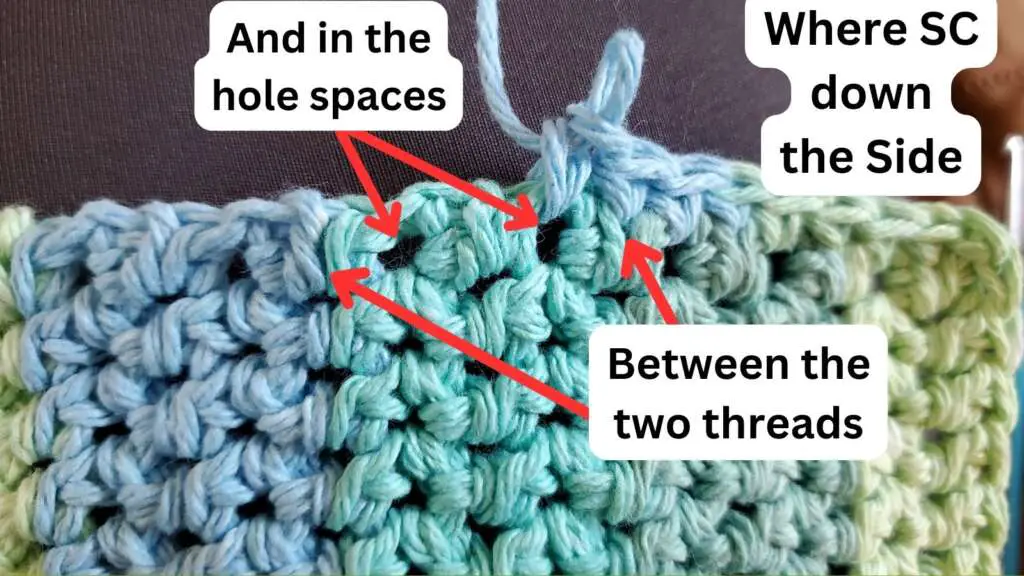
ch 1, sc evenly going down the side of the block (make sure to keep count so you can match the same number of stitches down the opposite side and for your 2nd sqaure), sc 3x in the corner, sc in each stitch down the next side of the block, sc 3x in the corner, sc evenly down the next side matching the same number of stitches as the opposite side, sc 3x in the corner, sc in each stitch down the next side, sc 3x in the last corner, sl st to join, fasten off end for the 1st square and leave working yarn connected on the 2nd square.
Border to Join Squares:
Place the two squares back to back with both squares having the rows going in the same direction, and align the edges so that each single crochet stitch going down the sides match up.
Find the 1st stitch after the corner where your connected working yarn is and match that with the 1st stitch after the corner on your other square, take your hook out of your working yarn loop and put it through the stitch on the top square and then pull the loop through the stitch with your hook, sl st to secure
ch 1, starting in the 1st stitch sc in each stitch going down the sides and sc 3x in each corner, sl st to join 1st and last stitch of the joining border.
Handle (Optional) if skipping this you can fasten off and weave in your ends:
If you would like to do a small handle to hang your hot pad do not fasten off and weave in your ends.
ch 10, and then sl st into the stitch that was before the one that your ch 10 started from.
ch 1, going back around the ring that you created with the ch 10, sc 15x, sl st into original st that ch 10 was coming out of to secure.
Fasten off and weave in ends.
Share Your Work
Have you made this pattern? Let us know by tagging @firstthe_coffee on Instagram. You can also join FirstTheCoffee’s Facebook Group and show off your crochet projects.
Copyright
You may not copy, make video tutorials of, or sell my patterns. You may not claim my patterns as your own. You can sell your finished items made using my patterns but please credit FirstTheCoffee.com by linking back to this pattern. You may not re-publish my photos as your own. If you are interested in using one of my patterns in a roundup post on your blog, you can use one photo and link back to the pattern on my blog. Do not repost/copy the pattern.