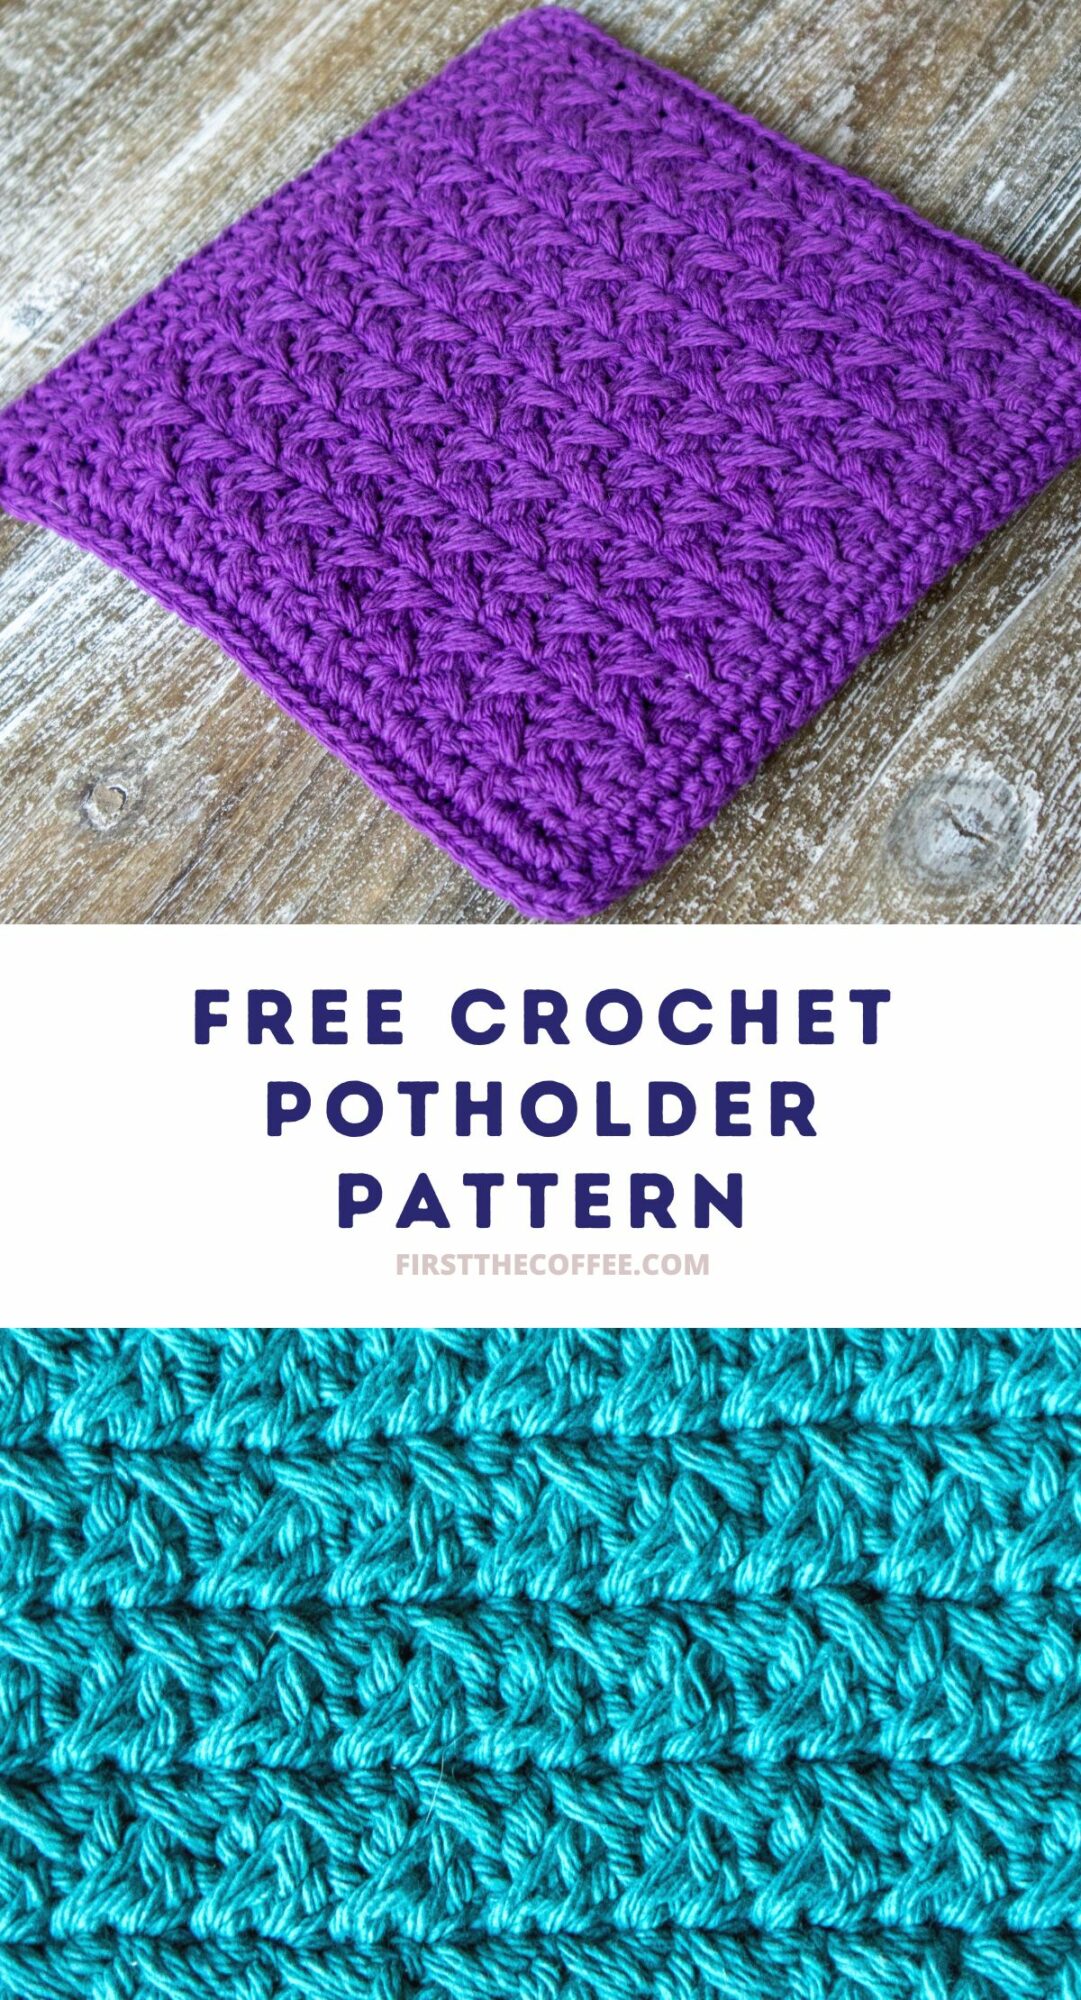
There’s something immensely satisfying about a beautifully crafted, matching kitchen set, and for those who loved the Spiked Crochet Cotton Dishcloth Pattern released earlier this month, get ready to add another piece to your Spiked Sedge Stitch collection:
The Spiked Crochet Potholder.
When making crochet potholders you will want to use a 100% cotton or wool yarn that does not have a coating since these are used for hot pans and on hot surfaces.
What Yarn to Use for Pot Holders
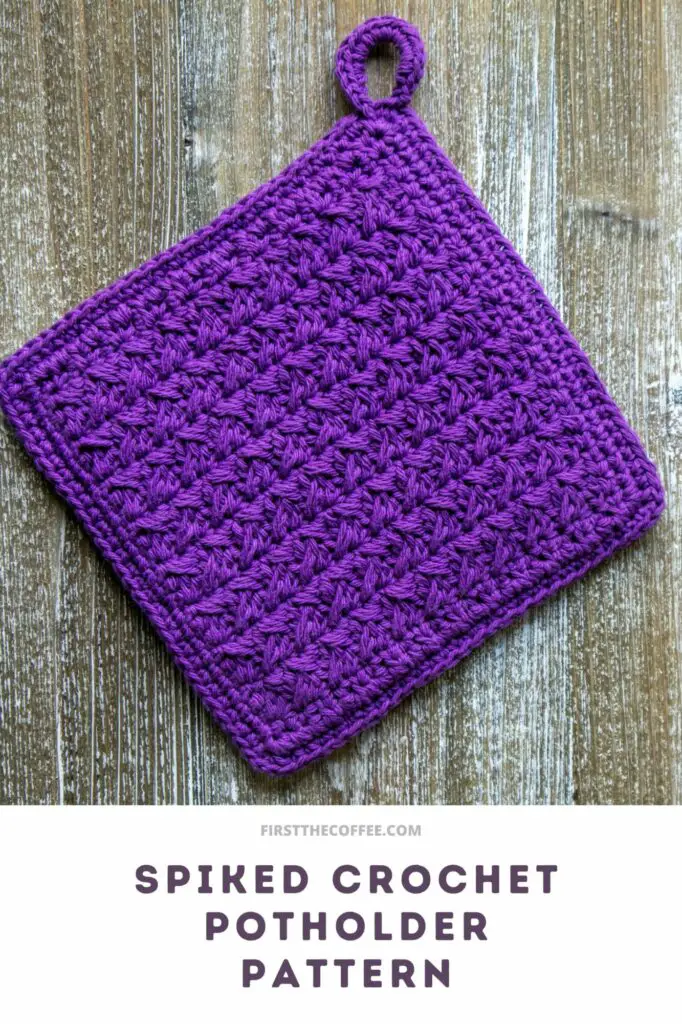
Ad-Free PDF Patterns Are Available:
The full written pattern and video are available below with display ads. But if you would like a written ad-free PDF to add to your pattern collection you can do so by purchasing one from my Ravelry shop or Etsy shop.
All PDF Patterns are 20% off when you buy 3 patterns on Ravelry or Etsy.
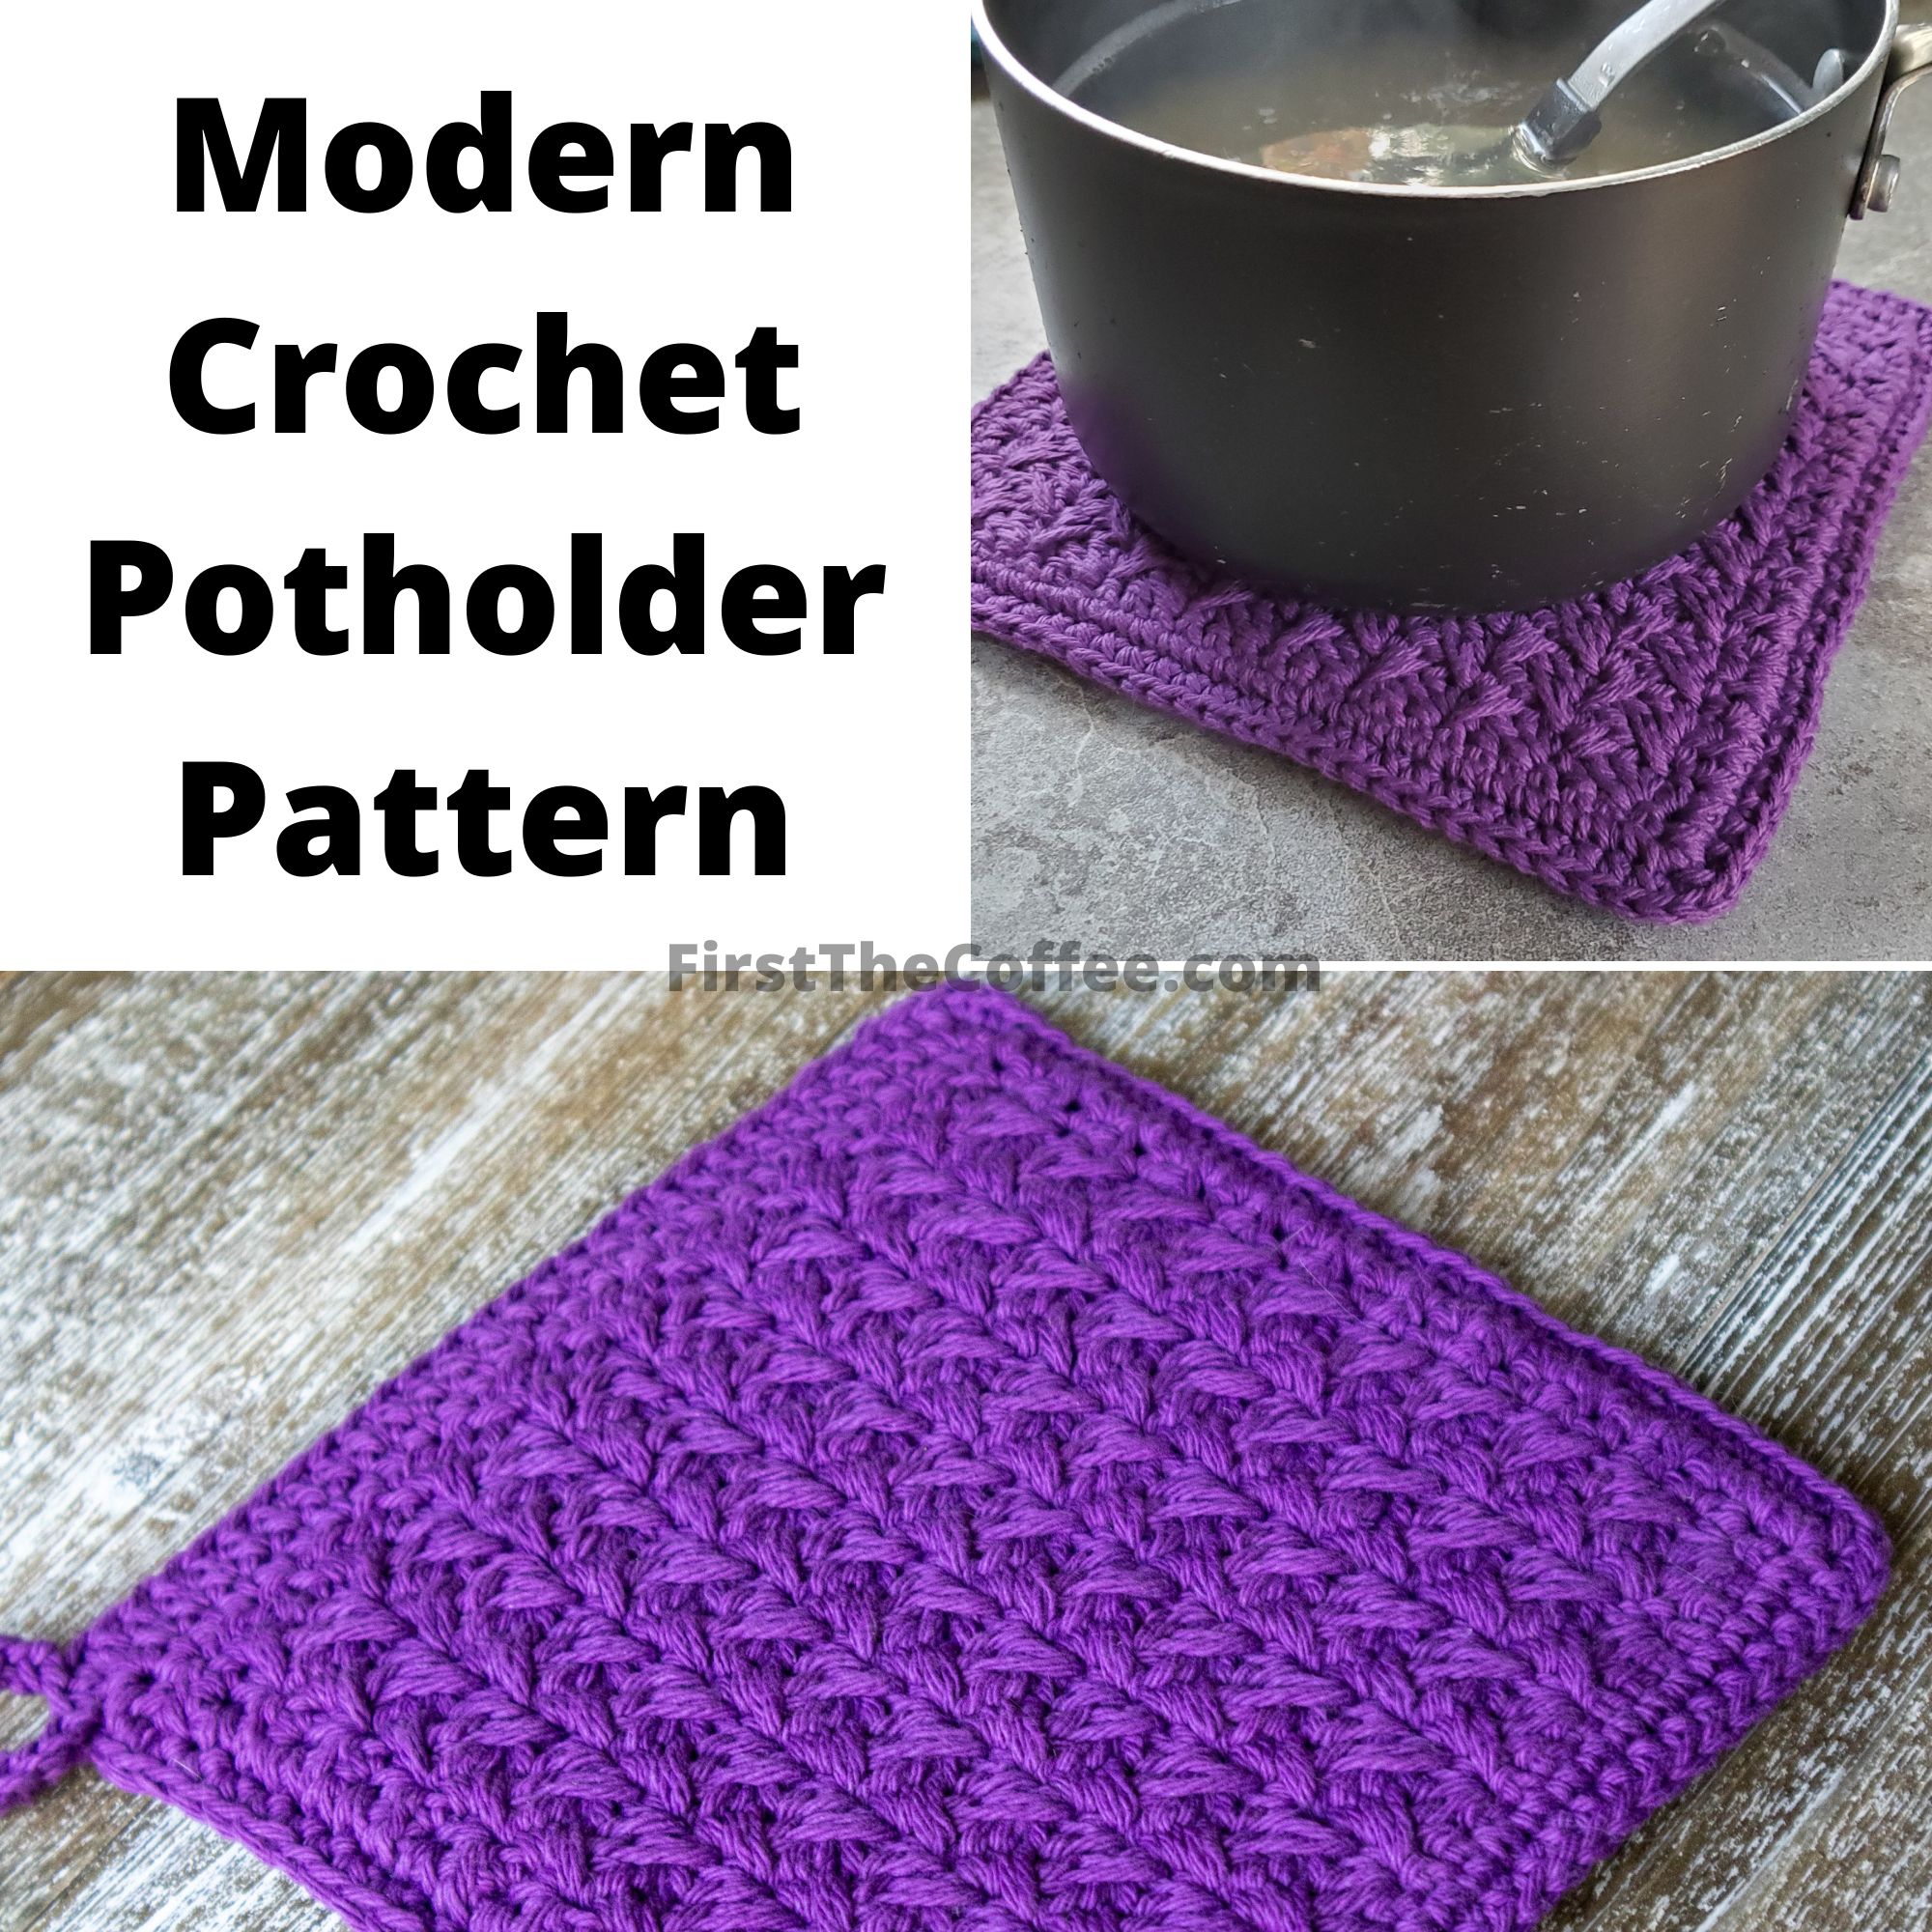
Notes for the Spiked Modern Crochet Potholder Pattern:
- This crochet pattern is written in US terms.
- The initial ch at the start of each row does not count as a stitch.
- If you want to change the width the initial chain needs to be a multiple of 3 plus 1
- If you want to change the height you can do so by changing the number of times the repeat rows are done.
- Finished size is 8” x 8”
- Use 100% cotton or wool yarn, that is not coated, to make these since they are intended for being in contact with very hot surfaces.
- When making the initial foundation chain, make the chains loose or use a larger hook size for the foundation chain.
Materials Needed for this Pattern:
- 150 yards of a cotton #4 medium-weight yarn
- Yarn Used: Lily’s Sugar and Cream
- 4.5 mm ( 7 ) crochet hook (Optional 5.5mm crochet hook for foundation chain)
- Yarn needle to weave in ends.
- Stitch Markers
Crochet Stitches Used:
- ch – chain
- sc – single crochet
- hdc – half double crochet
- dc – double crochet
Video Tutorial
Modern Potholder Pattern With Pictures:
Potholder Square (Make 2 of these):
Foundation: ch 28
Row 1: (working in the back loop) sc in the 2 ch from hook, sc all the way across (27 sts)
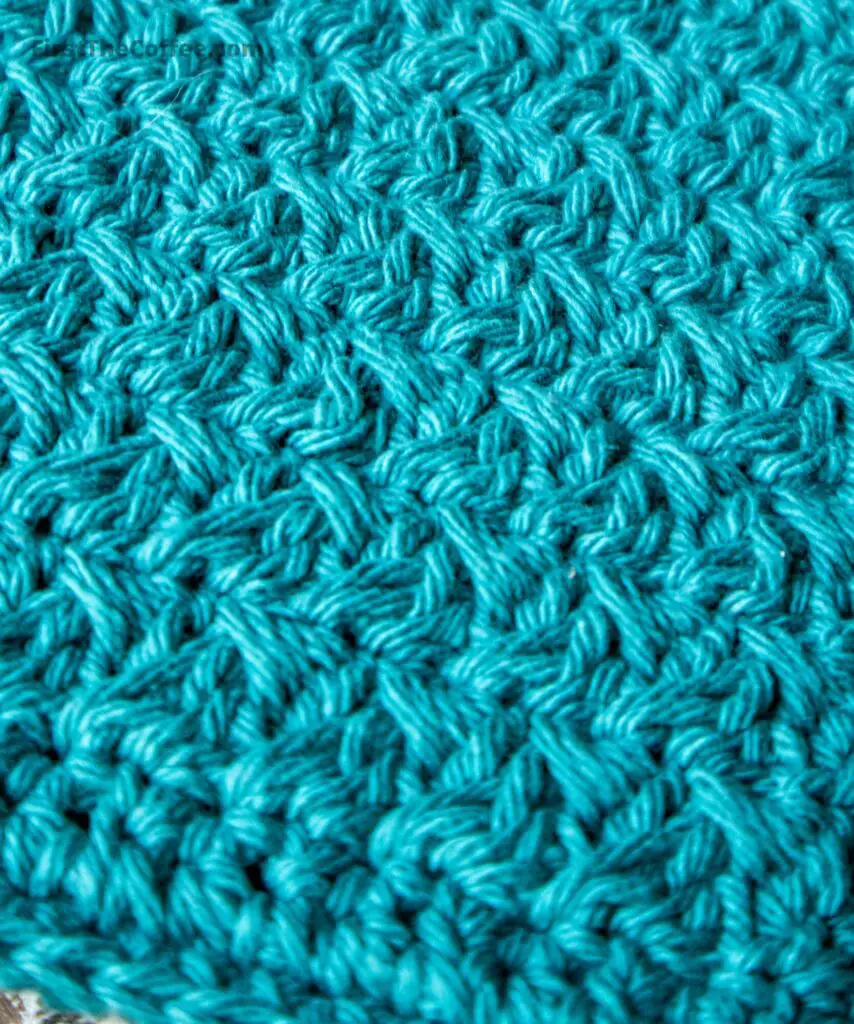
Row 2: ch 1, turn, hdc in the 1st st, * [1 sc, 1 hdc, 1 dc] in next st, skip next 2 sc, repeat from * 7 more times, sc in the next st, hdc in the last st. (27 sts)
Rows 3 – 21: ch 1, turn, hdc in the 1st st, * [1 sc, 1 hdc] in next st, dc into sc 2 rows below, skip next 2 st, repeat from * 7 more times, sc in the next st, hdc in the last st (27 sts)
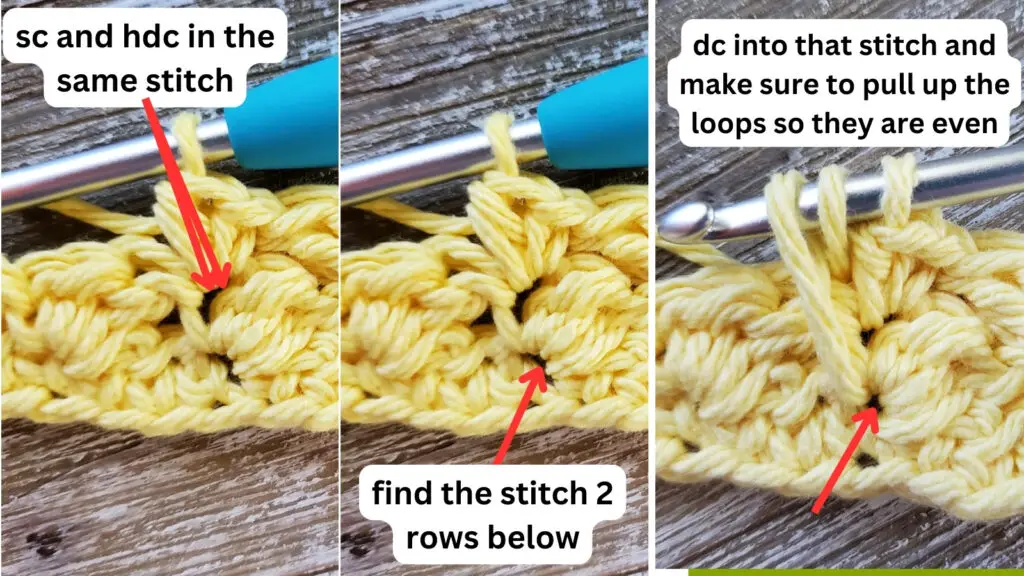
Row 22: ch 1, turn, (starting in the 1st st) sc in each st all across (27 sts)
Single Square Border
ch 1, sc evenly going down the side of the block (make sure to keep count so you can match the same number of stitches down the opposite side and for your 2nd sqaure), sc 3x in the corner, sc in each stitch down the next side of the block, sc 3x in the corner, sc evenly down the next side matching the same number of stitches as the opposite side, sc 3x in the corner, sc in each stitch down the next side, sc 3x in the last corner, sl st to join, fasten off end for the 1st square and leave working yarn connected on the 2nd square.
Border to Join Squares:
Place the two squares back to back with both squares having the rows going in the same direction, and align the edges so that each single crochet stitch going down the sides match up.
Using stitch markers to join the corners together can help with keeping the placement of the 2 squares.
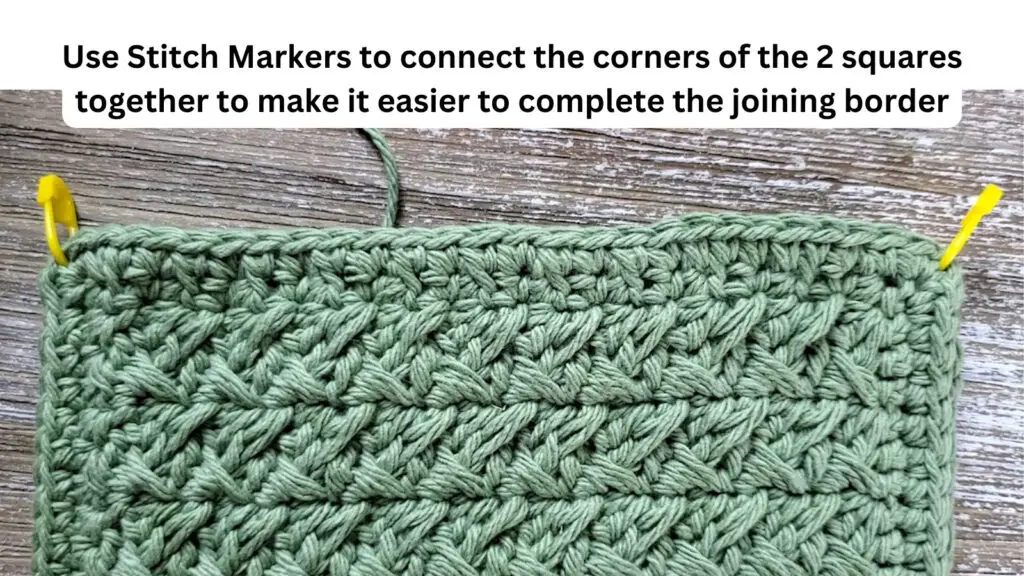
Find the 1st stitch after the corner where your connected working yarn is and match that with the 1st stitch after the corner on your other square, take your hook out of your working yarn loop and put it through the stitch on the top square and then pull the loop through the stitch with your hook, sl st to secure
ch 1, starting in the 1st stitch sc in each stitch going down the sides and sc 3x in each corner, sl st to join 1st and last stitch of the joining border.
Handle (Optional) if skipping this you can fasten off and weave in your ends:
If you would like to do a small handle to hang your hot pad do not fasten off and weave in your ends.
ch 10, and then sl st into the stitch that was before the one that your ch 10 started from.
ch 1, going back around the ring that you created with the ch 10, sc 15x, sl st into original st that ch 10 was coming out of to secure.
Fasten off and weave in ends

